Showing posts with label Holiday Decor. Show all posts

Saturday, December 31, 2011

Luminary New Years Eve

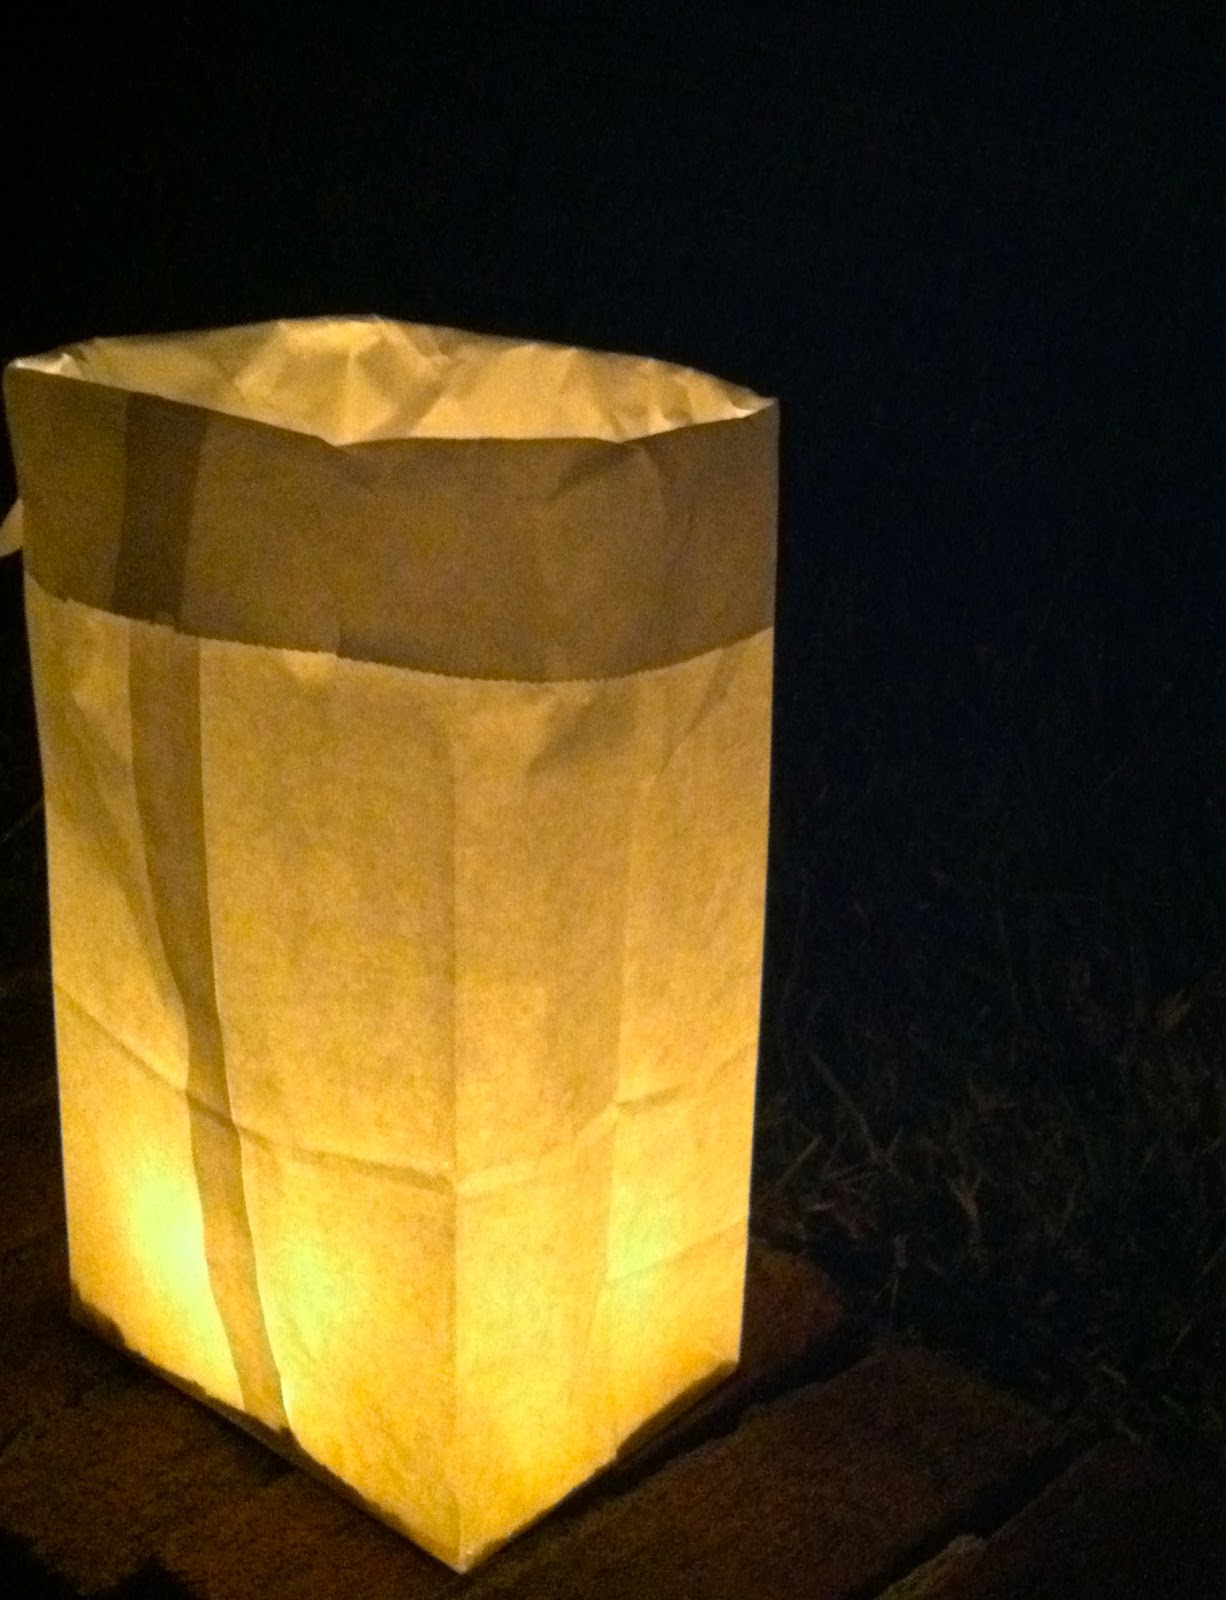
Every year for over twelve years our neighborhood has held a LUMINARY NIGHT the weekend before Christmas. This year I volunteered with my kids to organize and carry out this wonderful evening. It's a feast for the senses, it gets the neighborhood in the Holiday Spirit, and it encourages neighbors to mingle with each other over hot cocoa and Christmas cookies. I know, I know, Christmas has come and gone......but New Year's Eve is on the horizon.

My family and I will light a few luminaries on New Years Eve. We will display them right outside our dining room window at dinner time and let them burn through the night. (Our votives last 10 hours). The luminaries will add a romantic and festive feel to the evening.  I encourage you to buy a few votives and white paper bags, cuff them, and fill them with sand from the sandbox (one of my neighbors used kitty litter one year, use what you have) and light a few luminaries outside where you can enjoy them from inside of your home. Just make sure you don't place them near anything flammable like a pile of leaves. Light the luminaries and enjoy entering the New Year with a festive bang!

Line luminaries down a pathway.
Look how festive it looks!

Luminary: a cuffed white paper bag with
scoops of sand and a lit votive

Aerial view of a lit luminary

Our street lit up by luminaries this year.
 It's a wonderful spectacle to see street after
street lit up by candle light.


In order to get the tree ready for
New Years Eve,  I took all the
ornaments off and only hung some
glittery white snowflakes on it. Then I
draped a silver ribbon around the tree.

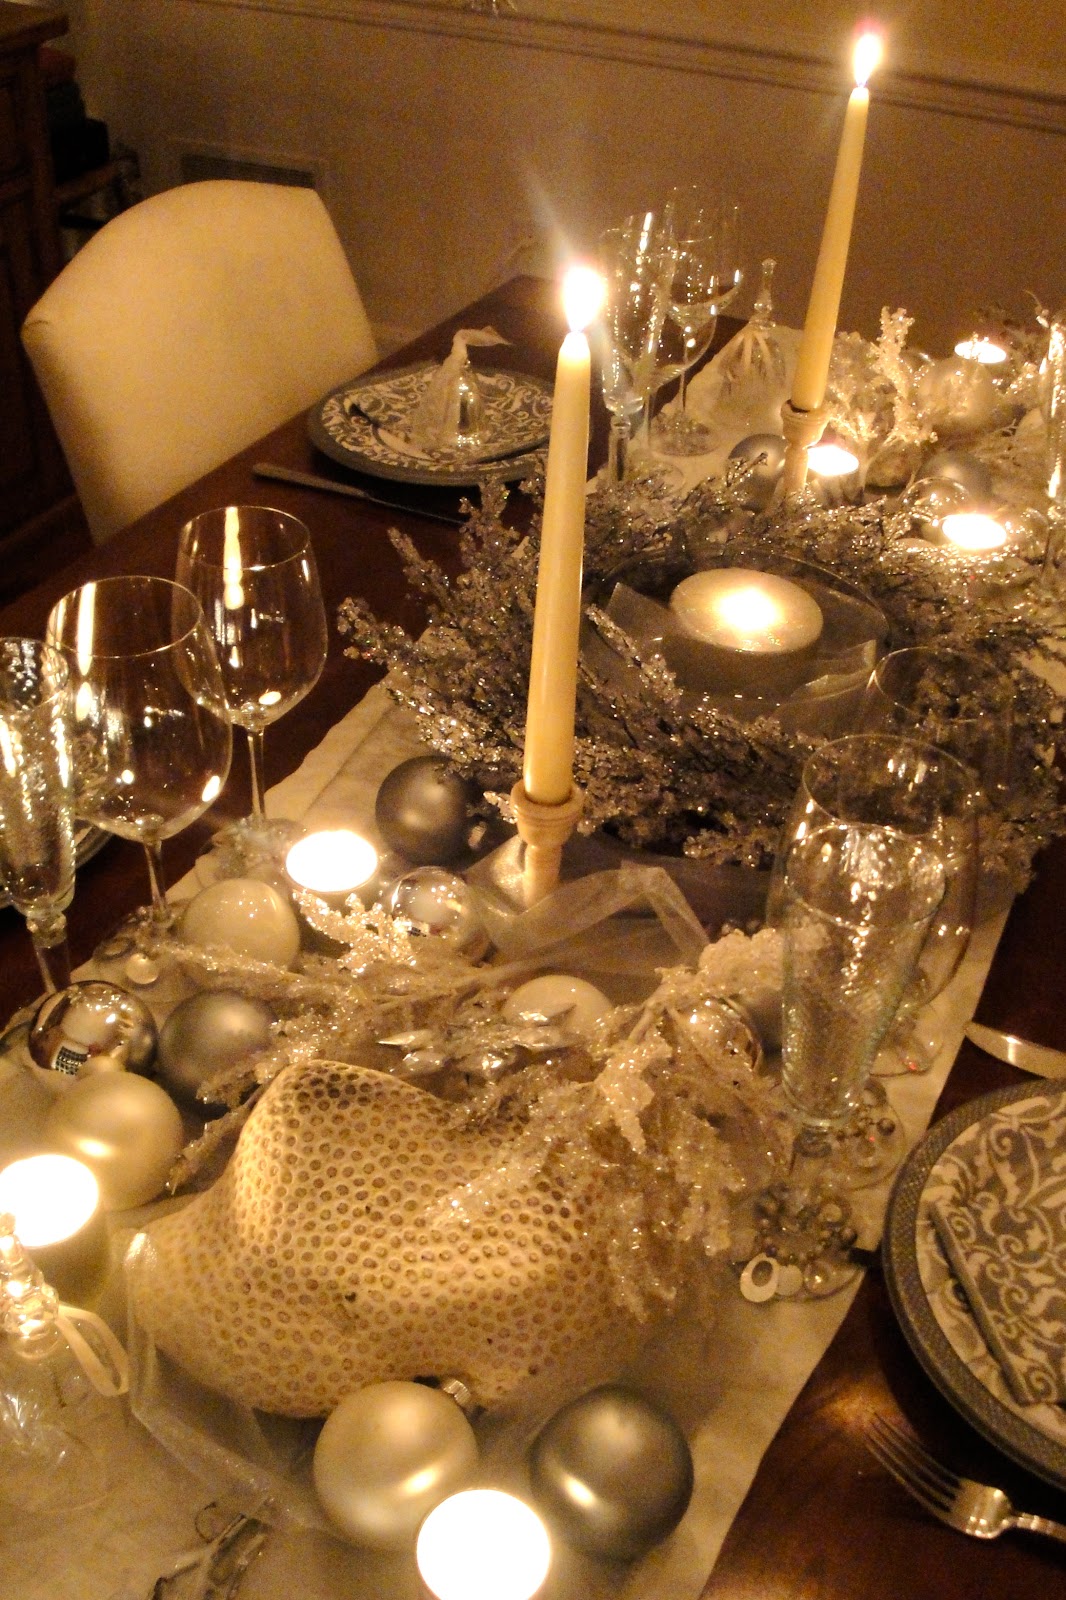
This will be our New Year's Eve
tablescape: silver and white are the
predominant colors. Just add a
scrumptious feast!

Thank you very much to all my readers, you are the reason I post!
I wish you and your family a wonderful entrance into 2012!

CHEERS!

Happy Decorating!
Ana Alicia
Best Blogger Tips

Wednesday, December 21, 2011

Holiday Wreath

Wreaths have been around for centuries and symbolize growth and everlasting life. They are hung on doors, over the mantle, in windows and set on tables as centerpieces.  Most wreaths are made of evergreens such as pine, fir, or holly. You know which ones I am talking about......but there are other materials you can use such as moss, pinecones, flowers, candy.....and the list goes on. Today I want to show you how to craft a coffee filter wreath. Yes, everyday coffee filters can be turned into a Holiday wreath! It looks amazingly delicate and christmassy, especially after you sprinkle some glitter onto it! Let it snow...let it snow...let it snow!

The Nesting Place
Martha Stewart
Love Sweet Love
Fleurish Studio


I encourage you to click on Martha Stewart's video (below) if you are considering making this wreath. Your kids can help too, but I advise parental supervision with the glue gun. It's simple and it's easy, so have fun!    Coffee Filter Wreath how-to video


Tools and Materials for the Coffee Filter Wreath
  • Stiff paper plate (large for a coffee filter wreath, small for a cupcake liner wreath)
  • Scissors
  • Screw punch or small hole punch
  • Short length of ribbon
  • Coffee filters or cupcake liners
  • Hot-glue gun and hot-glue sticks
  • White craft glue
  • Stiff paintbrush
  • Glitter
  • Bow or ribbon (optional)

Coffee Filter Wreath How-To by Martha Stewart1. Cut a circle from the inside of a stiff paper plate, leaving a ring.

2. Punch two holes next to each other in ring and thread a ribbon through holes from back to front; tie ribbon in front and trim ends.

3. Stack one coffee filter on top of another. Pinch bottom in center and fold in half. Continue pinching filter with one hand, and encircle edges around center with other hand. Draw hand from bottom to top to bunch into a blossom; squeeze at pinched point to hold shape.
Note:For a smaller  wreath use cupcake liners, use same method, but use only one liner.

4. Glue pinched ends of filters or liners side by side around ring with hot glue, with blossoms pointing outward; add another set of blossoms to ring, pointing toward center. Fill in with more blossoms, staggering to fill out wreath.

5. Brush watered-down craft glue onto wreath with a stiff brush; sprinkle with glitter. Use hot glue to attach a bow to wreath, if desired.

I hope you found this wreath a fun and easy project to do. I think the end result is stunning!

Happy Holiday Season and Happy Decorating!
Ana Alicia

Best Blogger Tips

Monday, December 19, 2011

Make your own Gingerbread House


......OK, we cheat a little bit.....we buy a pre-made Gingerbread House Kit......but it it's still all good! The kids LOVE to make one every year..... and what is the best part?  Decorating! Well, no......for the kids it's eating candy while they are decorating! And for me, it's witnessing their anticipation, spending quality time with them, and then producing a beautiful centerpiece to cherish until it's eaten up right after Christmas! This year we went for the Gingerbread village. The kit comes with several little houses, so each boy had more than one to decorate.


Start with your pre-baked gingerbread house pieces (store bought
or home made). Buy different Christmas candy (the candy
provided in the kits are never enough!) and put each kind in
a bowl for easy access to decorate......and to nibble on!  Have a color
scheme in mind. We use the traditional red and green colors.
Also provide LOTS of icing. You can make your own or buy ready
made icing in a bag in your local supermarket.  I always provide
one icing bag per person. 

If you have little kids, I have found out it's easier for
them to decorate with the gingerbread pieces laying flat.
Let them have fun......!
After they finish decorating just let the icing dry
and then "glue" the house(s) together with icing. Use a
cardboard as a base, it is soooooo much easier this way
to stabilize all the parts while you assemble every
piece. Be sure to spread some icing on the
cardboard to secure your pieces. One more piece of
advice: Don't attempt to assemble the house unless
the icing is dry.... the gravitational force will
pull all your candy down.....and you will end up
with a sad and droopy Gingerbread House!


To make a centerpiece, lay the Gingerbread
House(s) in a tray. Make snow with different size
marshmallows and lay chestnuts for rocks. Then
cut a few sprigs off of your Christmas tree or wreath
to make little trees in your scenery. You are done!
One word of caution: Snow mysteriously starts
"melting" with the passing of time.......and the
colorful roof tops tend to disappear as well....
hhmmmm.....


Look at some other Gingerbread houses my
 family has created in the past: 


We added Gingerbread men....


We used Shredded Wheat for a snowed roof top effect....


We added whimsical characters out of candy.... 

The kids will be out of school this week, so go ahead and make a one-of-a-kind Gingerbread House, make memories, and start a new tradition! Oh, and don't forget to put on the Christmas music!

Happy Holidays and Happy Decorating!
Ana Alicia


Best Blogger Tips

Thursday, December 15, 2011

Christmas Greenery

Can you believe it?  Christmas is around the corner! Is your home ready for the Holidays?

The smell of authentic greenery sets me in the mood for Christmas, no matter what else is going on in my life. The distinct scent transports me right into childhood when I used to believe in Santa. I LOVE it! Nowadays there are beautiful wreath, tree and greenery reproductions that look similar to the real thing but you can't replicate the scent! I tell my clients to have some natural greenery at least in the main rooms (living room, dining room) just for the scent. I too have fake greenery around the house, but then I layer it with the real thing. When you combine the fake and the real greenery it's hard to tell them apart, it looks natural, and you have the unmistakeable scent of Christmas.


Martha Stewart
Traditional Home
House Beautiful
Traditional Home
House Beautiful
Put some green in your Holiday decorations, pour yourself a glass of wine and smell the scent of the Holidays....Cheers!

Happy Holiday Season and Happy Decorating!
Ana Alicia
Best Blogger Tips

Saturday, October 29, 2011

Ghostly Dinners!

I just came back from Sarasota, Florida from the annual Interior Redecorators Network conference. I had a great time, got inspired with the wonderful seminars offered and did not want to leave. I have made wonderful friendships with other designers throughout the years and it's always a blast!

My kids welcomed me with open arms, but one thing was on their mind: Halloween! What are we going to wear? We need to buy candy......Mom, let's get the spiders out!  For decorating inspiration I turned to last years pictures.

Below you can see how I decorated my dining room. I pitched up a tent and hung black draperies on each side as walls. Next I draped mosquito nets throughout the inside mimicking spider webs. Little lights were strung all over and little ghosts, pumpkins, and witches were hung inside the tent. We made ghoulish food and ate at the table under the bewitched tent! My kids and their friends ate in this tent all month long!

Outside we greeted trick or treaters with fog, a self-made witch, lots of candy, and eyes lurked from the windows........eeeerrriieeee!!!

My dining table under a scary tent.....great for
ghostly dinners
Table is set  for kids to celebrate!

On the menu: A green brain, a bloody heart and eyeballs 
Getting the entryway ready for Halloween
Trick or Treaters....beware!
(use a fog machine for special effects)
We are watching you....!!
(Flashing eyes are stuck to the window panes with suction cups)

Trick or Treat! Did you get inspired? Please comment on your own Halloween decor!

Happy Decorating,                                                  
Ana Alicia
Best Blogger Tips

Saturday, April 23, 2011

Eggstraordinary Easter Decor!

Tomorrow is Easter sunday.....did it creep up on you too? I was just arranging a centerpiece for my table when it dawned on me that you might be thinking about how to make your table festive too.  Whether you are hosting a brunch for twelve with your finest china or having lunch with your family on the patio, a beautiful set table is very welcoming no matter how formal or how casual you are celebrating Easter. I always love to use natural elements in my tablescapes. It's simple and on hand most of the time.  Most easters my family and I fill a cute basket with colorful dyed eggs, surround the basket with petite flower vases with bright pink azaleas (they are in bloom all over my yard this time of year, choose what you have blooming near you) and then we prop some cute hand painted bunnies from years past on the dyed eggs and around the table. It's easy, effective and the kids love it!  Do you want to know my favorite though?  I get a big vase, stick a big branch or two in it (I use dogwood branches from our yard) and hang hand painted eggs by my kids from the branches. It's very showy and gives the occasion a personal touch. The most important ingredient however, is to have fun preparing your beautiful table this Easter. It does not have to be complicated.  Use what you have around you. With a little bit of imagination you can turn an ordinary table setting into an "eggstraordinary" tablescape!


Easter_Decorative egg display tree


Green and purple overall table setting


Make a Bright Easter Egg Garland


Decorative Egg Cups

Photographs via HGTV,  Martha Stewart and Better Homes & Gardens


Happy Easter!
Ana Alicia


Best Blogger Tips